Do Voltage Probes Exhibit High Resistance?
June 11, 2024
A Beginner’s Guide to High Voltage (HV) Power Supplies
June 21, 2024When working with high voltage circuits, it’s crucial to use the appropriate equipment and follow safe procedures. One such piece of equipment is the high voltage probe, which allows you to safely measure high voltage signals using an oscilloscope. Here’s a step-by-step guide on how to connect a high voltage probe to an oscilloscope:
1. Understanding the Equipment
High Voltage Probe:
- Designed to measure high voltage signals.
- Typically has a high impedance to minimize the load on the circuit under test.
- Includes a scaling factor (e.g., 1000:1) to reduce the voltage to a safe level for the oscilloscope.
Oscilloscope:
- An instrument used to measure and display voltage signals as waveforms.
- Must be rated to handle the reduced voltage from the high voltage probe.
2. Safety Precautions
Before starting, consider the following safety precautions:
- Power Off: Ensure the high voltage circuit is powered off before connecting the probe.
- Personal Protection: Use insulated gloves and safety glasses.
- Environment: Work in a dry environment free of conductive materials.
- Probe Condition: Inspect the high voltage probe for any damage or wear.
3. Connecting the High Voltage Probe
Step 1: Ground Connection
- Connect the ground lead of the high voltage probe to a proper ground point on the circuit. This is usually done by attaching the alligator clip to the circuit ground.
Step 2: Probe Tip Connection
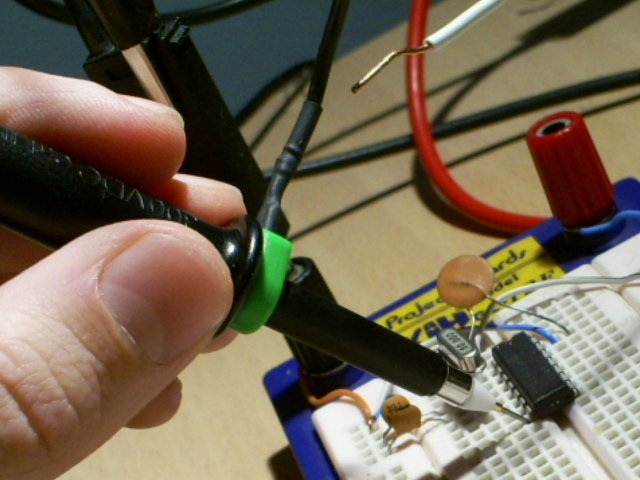
- Attach the probe tip to the high voltage point you wish to measure. Ensure a secure and stable connection.
Step 3: Connecting to the Oscilloscope
- Plug the BNC connector of the high voltage probe into the oscilloscope input channel.
- Make sure the connection is tight and secure.
4. Configuring the Oscilloscope
Step 1: Set the Attenuation Factor
- Adjust the oscilloscope’s settings to account for the attenuation factor of the high voltage probe (e.g., if the probe has a 1000:1 ratio, set the oscilloscope accordingly).
Step 2: Voltage Range
- Set the oscilloscope’s voltage range to match the expected signal levels. This will prevent overloading the oscilloscope input.
Step 3: Time Base
- Adjust the time base to properly capture the waveform. This might require some trial and error to get a clear view of the signal.
Step 4: Calibration
- If available, use the probe compensation adjustment on the oscilloscope to ensure accurate measurements.
5. Measuring and Analyzing the Signal
Power On the Circuit
- Once all connections are secure and the oscilloscope is configured, power on the high voltage circuit.
Monitor the Waveform
- Observe the waveform on the oscilloscope display. Check for proper signal shape and amplitude.
Safety Check
- Periodically check connections and ensure there is no excessive heating or signs of arcing.
6. Disconnecting the Probe
Step 1: Power Off the Circuit
- Turn off the high voltage circuit before disconnecting the probe.
Step 2: Disconnect from Oscilloscope
- Unplug the BNC connector from the oscilloscope.
Step 3: Remove Ground Connection
- Detach the ground lead from the circuit ground.
Step 4: Remove Probe Tip
- Carefully remove the probe tip from the high voltage point.
Using a high voltage probe with an oscilloscope requires careful attention to safety and proper procedure. By following these steps, you can safely measure high voltage signals and obtain accurate readings from your oscilloscope. Always refer to the user manuals of both your high voltage probe and oscilloscope for specific instructions and safety information.
Related posts
High Voltage Power Supply. High Voltage Probe. High Voltage Relay.


